Painting a room may feel daunting, but with the proper preparation and a confident approach, you will achieve professional-quality results yourself. Painting is arguably the most impactful and cost-effective way to transform your living space. Forget the splatters and streaks of amateur jobs; we’re here to give you insider painting tips that guarantee your next project to paint your home looks crisp, clean, and beautiful.
Preparation is Everything: The Key to Painting Like a Pro
A professional painter will tell you that the secret to a flawless finish isn’t the brush; it’s the prep work. Skipping the steps here guarantees a mediocre result. Before you even open the paint can, you must clean and repair the walls.
Start by wiping down the walls with a damp cloth or a mild cleaner to remove dust, dirt, and grime. Paint adheres poorly to dirty surfaces. Next, confidently address any imperfections. Use spackling paste to fill nail holes and minor cracks, letting it dry completely before sanding the patches smooth so they are perfectly flush with the wall. The final and most crucial preparation step is taping and drop cloths. Use high-quality painter’s tape along trim, baseboards, and ceilings. Press the edges down firmly to create a seal that prevents bleed-through. Taking the time to properly prepare the surface is the foundation for successfully knowing how to paint your home like a pro.
The Right Tools and Techniques to Paint Your Home
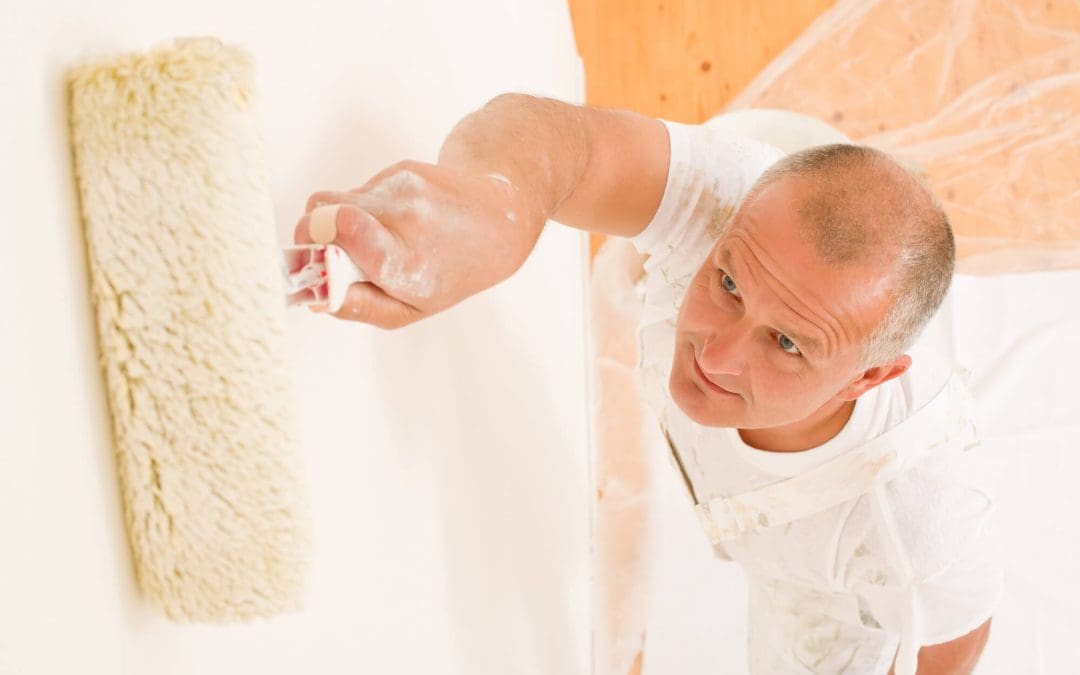
Once the surface is ready, selecting the correct tools and utilizing proper technique will elevate your work. Don’t skimp on quality; a good brush and roller make a world of difference. For cutting in (painting the edges where the wall meets the ceiling and trim), use an angled brush. Load the brush moderately and use long, steady strokes, working from the outside edge inward. This technique is often easier and more effective than relying on tape alone.
When using the roller for the main wall surface, always work in small sections. Dip the roller, remove the excess paint on the tray, and apply the paint using a “W” pattern, then fill it in by rolling vertically. This ensures even coverage and avoids heavy roller marks. It’s better to apply two thin, even coats than one thick, drippy coat. Allow the first coat to dry completely before starting the second. Following this professional technique is essential when you paint your home.
Finishing Strong: Confident Post-Painting Tips
Timing is everything when removing painter’s tape. Do not wait until the paint is completely cured. If you wait too long, the paint could bond to the tape, causing it to tear and peel when removed. Instead, remove the tape shortly after the final coat has been applied and is still slightly tacky but not wet. Pull the tape slowly at a 45-degree angle, pulling away from the wall.
Finally, proper cleanup and ventilation complete the job. Clean your brushes and rollers immediately with soap and water to preserve them for future projects. Ensure you maintain good air circulation in the room while the paint cures to aid drying and reduce odor. With these confident steps, you’ve successfully mastered how to paint your home with professional-grade results.
Summit Professional Home Inspections offers professional home inspections in Southern New Jersey. Contact us to schedule an inspection today.